Skip to main content
Beta Version
العربية
Employee portal
About
About Sipchem
Affiliates
Leadership
Reports
Products
Chemicals
Polymers
Investors
Investor Relations
Financial Events
Unclaimed Dividend
FAQ
Suppliers
Sustainability
ESG
CSR
Sustainability Reports
Certifications
IMS Compliance
Innovation
Digital Transformation
Research and Development
Contact Us
Home
Media Center
Gallery
2021-12-16
Sipchem Cares
7
2021-12-16
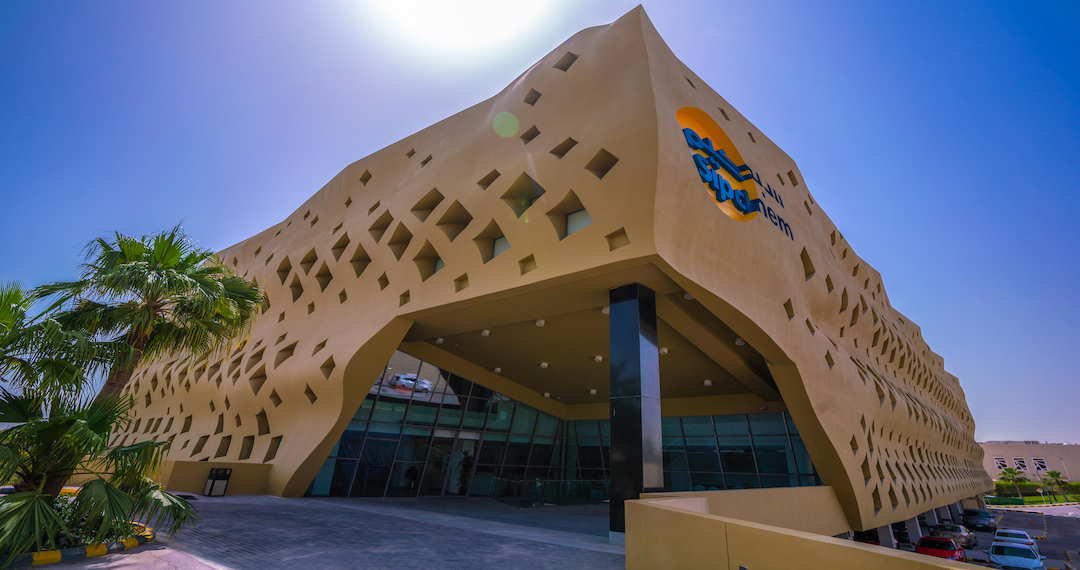
Our Buildings
4
2021-12-16
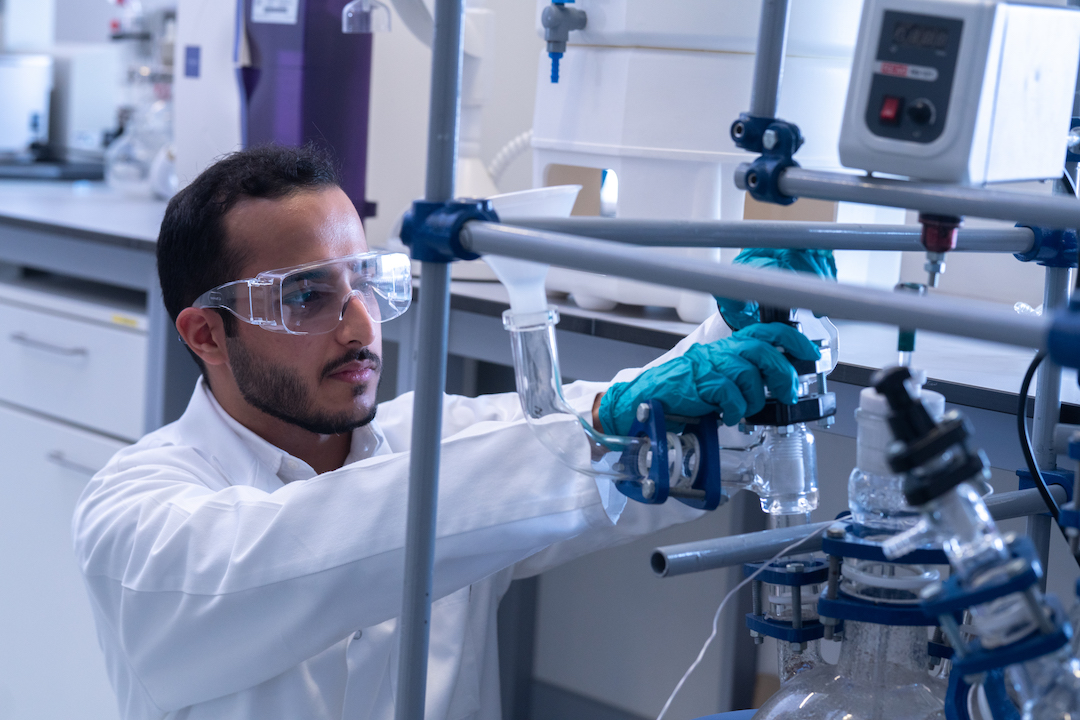
Our people
10